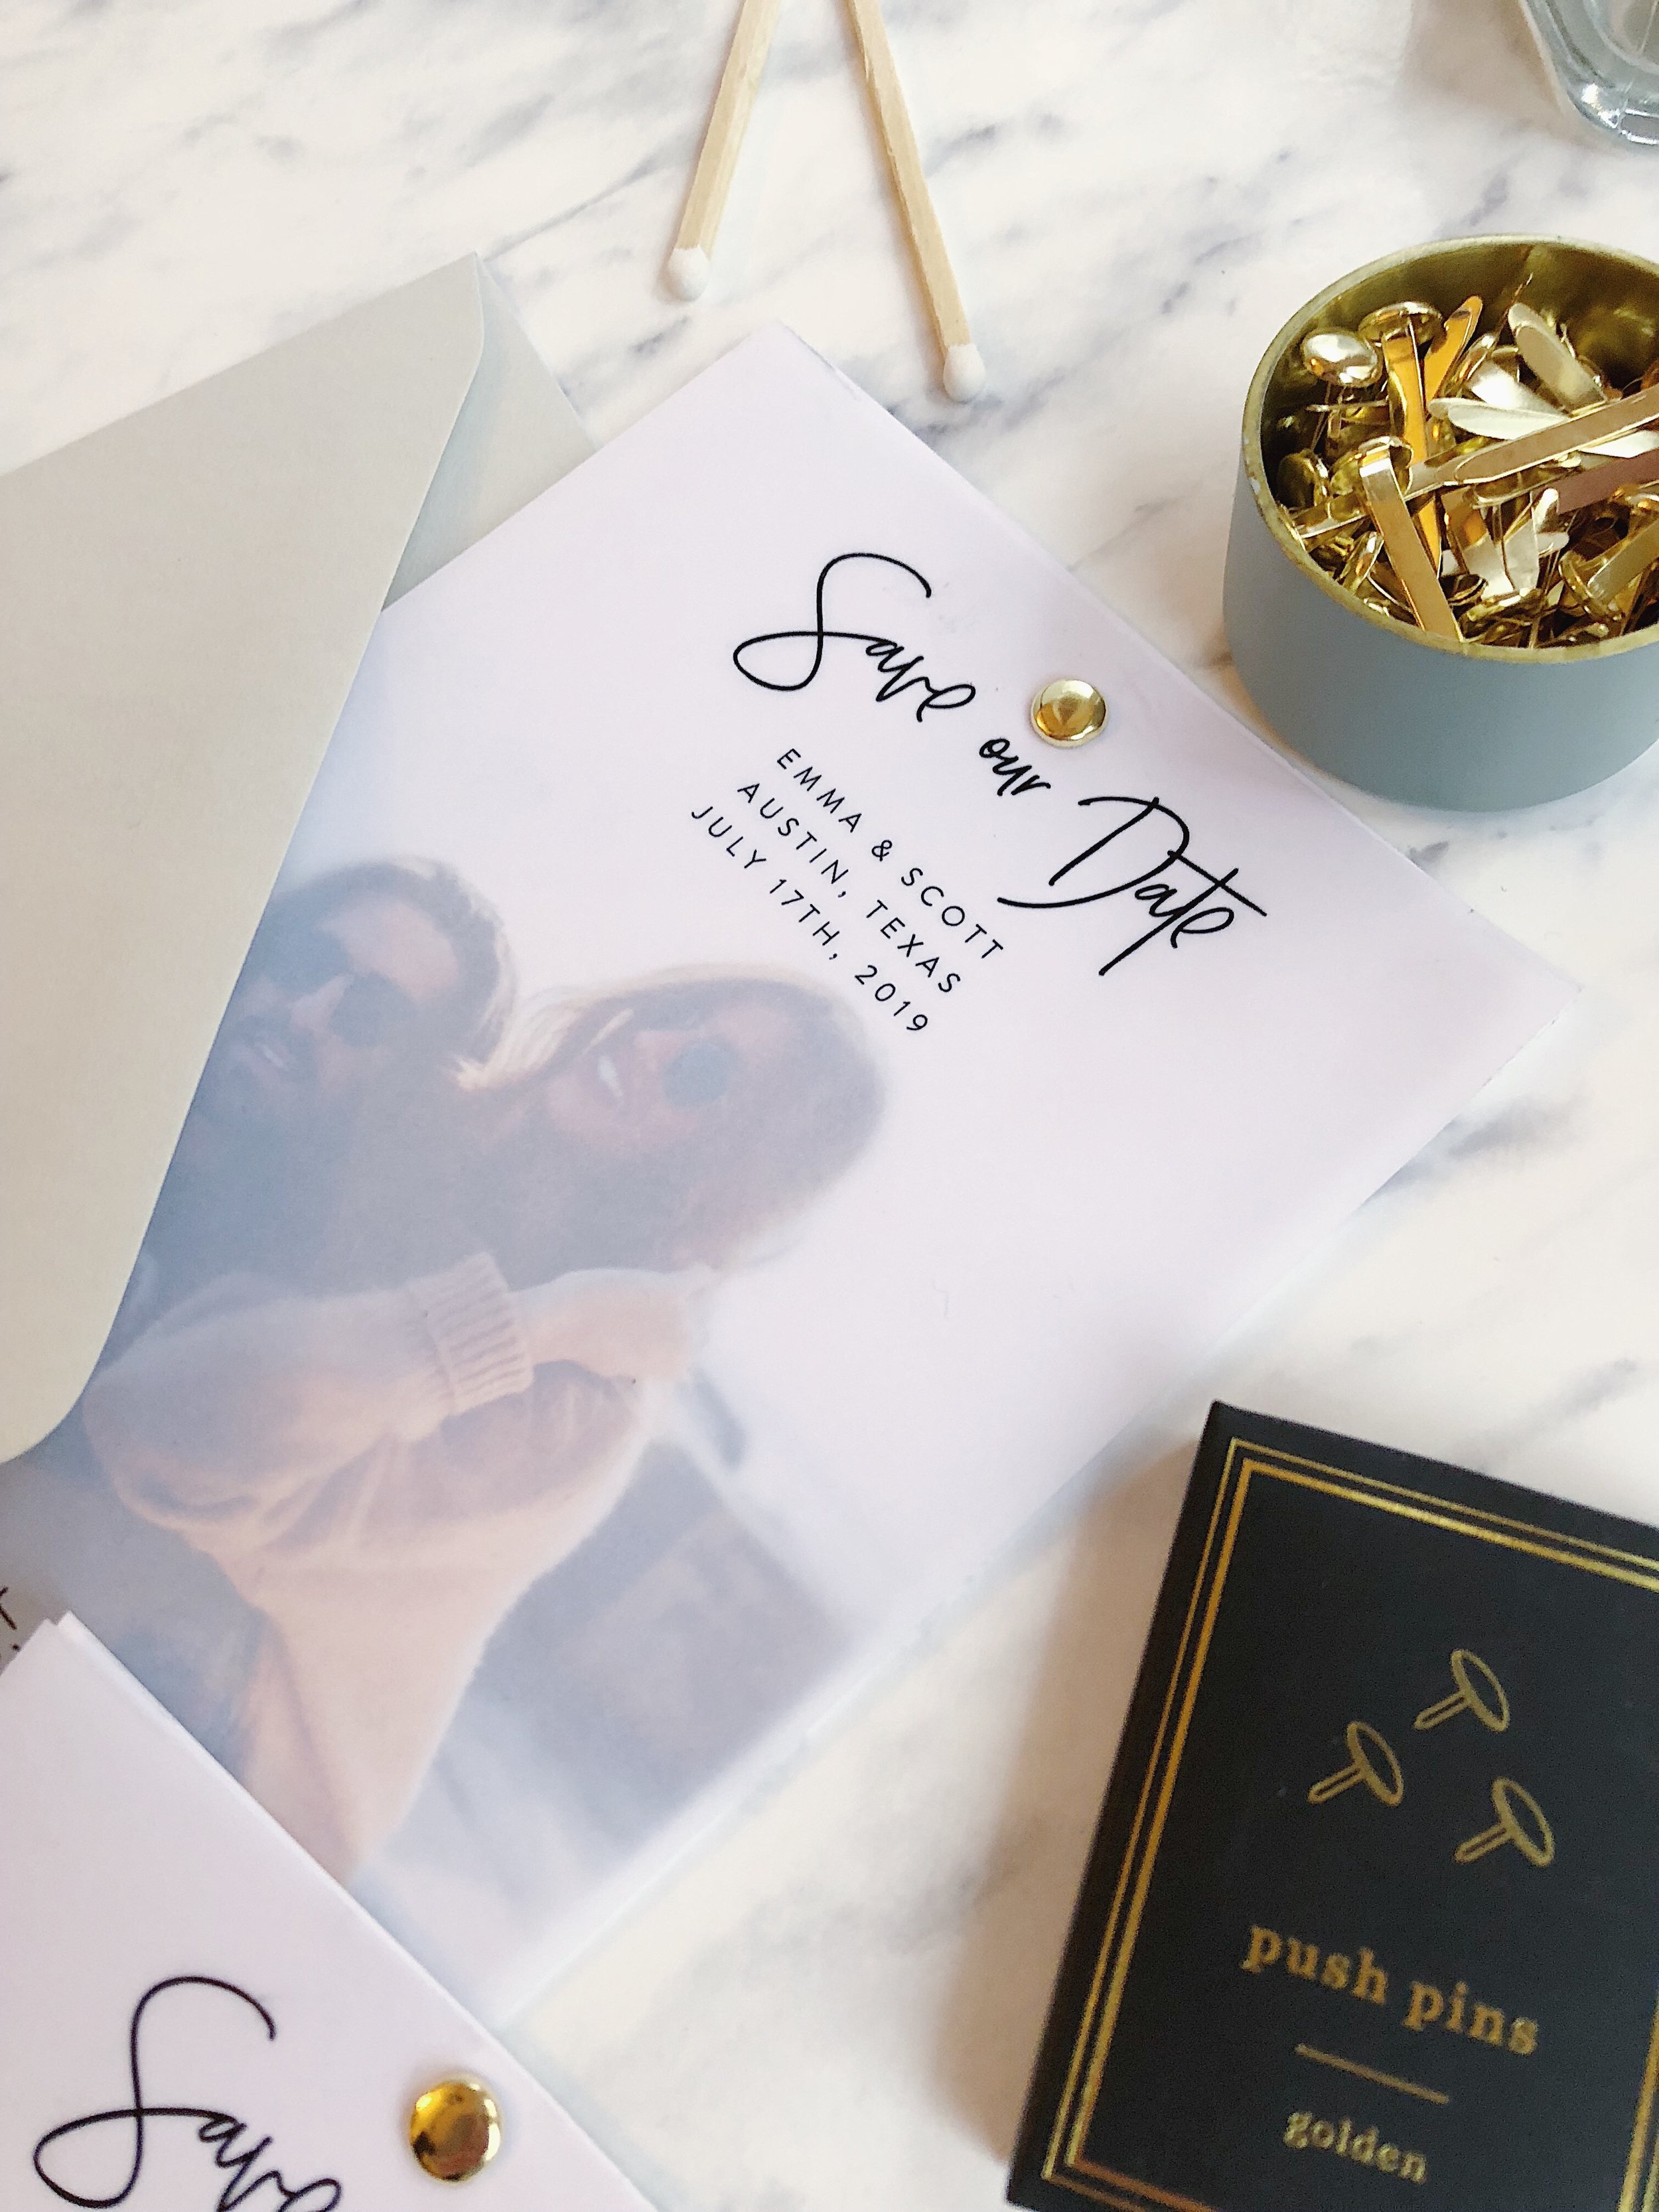
DIY Vellum Save the Dates
Hey Hey,
Vellum Save the Dates are becoming super popular and I can see why! They give such a fun and modern twist to your Save the Dates. Remember you're allowed to go a bit crazy with your Save the Dates (as read in this blog post). Using vellum paper is a perfect way to make use of your engagement photos or cute couples photos, without the photo being too "in ya face".
Wanna know what the best part is? It is soo easy and soo fun to make them. I want to make Vellum layered invitations for everything now, haha. Check out the steps to find out how I make them:
Start off by purchasing this template in the Etsy shop.
Print the text-page on Vellum paper and print the image-page on card stock paper or any paper of choice.
Print and cut the templates using Scissors, Cutting board, X-acto Knife or similar.
For video instructions on how to print and cut your template, check out this YouTube video I made.
You can either leave them layered like this, or tie them together with a piece of ribbon or a brad.
I like to use a hole puncher, but you can also use the tip of a knife/scissors or just push the brad through the layers.
Insert your brad through the hole
And Voila, we're done! That fast!
It is seriously so fun to make these and your guests will be impressed when they receive your Save the Dates in the mail.


